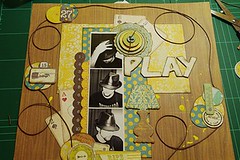
This is a simple step by step tutorial on how to make the layout "play", on the last entry. My intention was to publish it with the layout, but I didn´t have time...so here it is! I hope you like it!
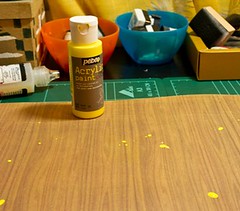
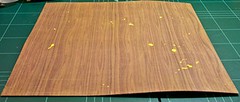
En primer lugar usé pintura acrílica para manchar un poco el papel de base
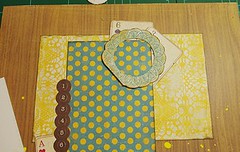
First, I used some acrylic paint to make stains on my background paper
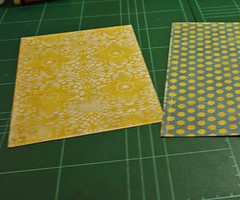
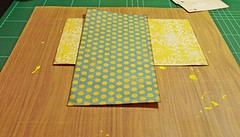
Corté dos trozos de papel coordinado, entinté los bordes y los coloqué sobre el papel base.
Then I cut two pieces of coordinated paper, inked the edges and placed them on the background paper.
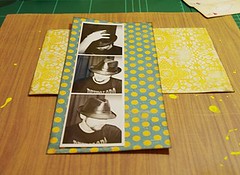
Coloqué las fotos, pero sin pegarlas todavía.
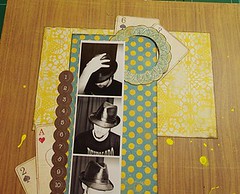
Placed the photos (I didn´t adhere them yet)
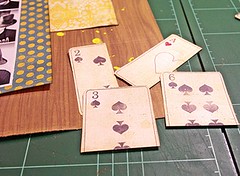
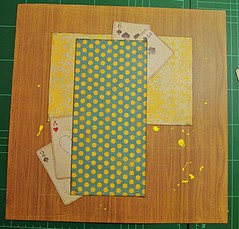
 Recorté algunas cartas de uno de los papeles y las coloqué.
I did some fussy cutting with the playing cards paper and placed them on my layout.
También recorté algunas blondas.
Fussy cutting on the doilies paper too.
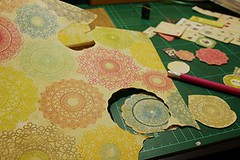
Recorté el centro de la blonda azul.
I cut the center of the blue doilie.
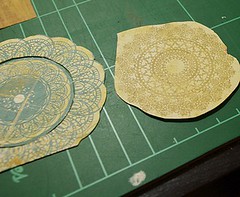
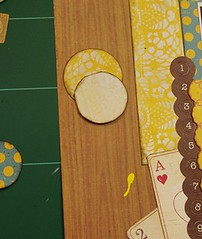
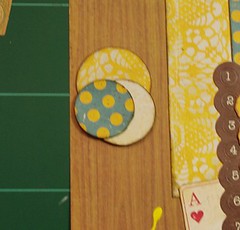
Acabé con todas estas blondas y las superpuse.
Finally, I got these pieces and layered them.
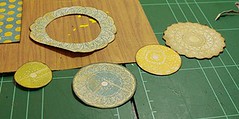
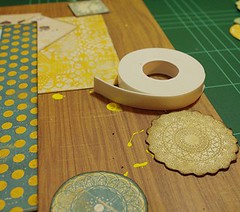
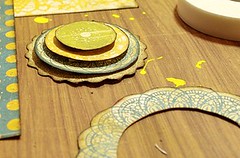
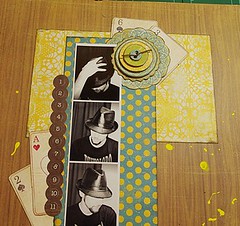
Añadí unos bordes.
Added some borders
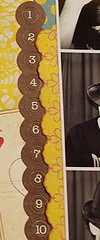
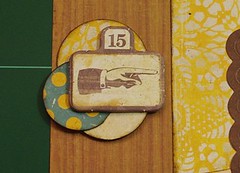
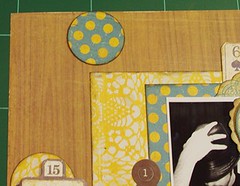
Hice los conjuntos de adornos y círculos.
And then I made the embellishments clusters
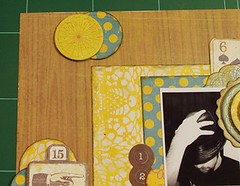
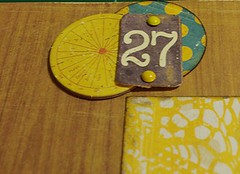
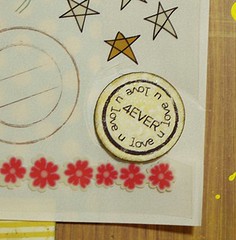
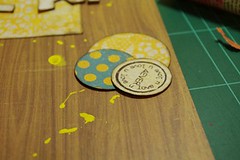
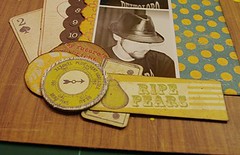
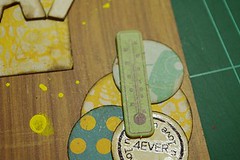
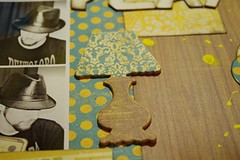
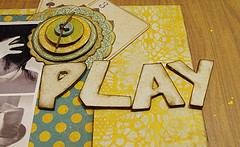
Recorté el título con mi cricut. Corté tres veces cada letra y las pegué. De esta forma parecen letras de chipboard.
I cut the title with my cricut. I cut three times the each letter and glued them together. This way they look like chipboard letters.
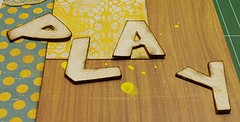
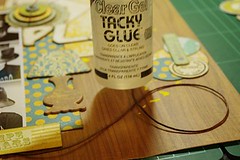
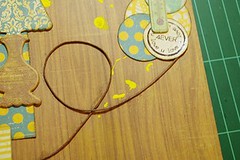
Por último, usé algo de cuerda para rodear el layout. Usé el pegamento Clear Tacky Glue de Aleene porque se seca y es completamente transparente, no mancha nada.
Finally, I used some twine around the layout. I used Clear Tacky Glue from Aleene because it dries completely clear




Thanks for this great tutorial...
ResponderEliminarbyebye,Lean
El Lo, es precioso, creoq ue ya te lo comenté. Me ha encnatado el paso a paso, muy bien explicado, besitos
ResponderEliminarThanks for sharing an awesome tutorial Ruki. Your layout looks amazing, with details and clustering totally fab! :)))
ResponderEliminarMuchas gracias por el tutorial, es genial ver tu paso a paso!! :)
ResponderEliminarMe gusta muchísimo! genial el paso a paso, me has dado un montón de ideas..gracias
ResponderEliminar