sábado, 30 de julio de 2011

Verano azul

Hoy toca...plantilla e interpretaciones en Sketchabilities!!! la plantilla es una maravilla, pero por desgracia las fotos no me han inspirado mucho y el resultado..en fin...no es mi layout favorito precisamente. Pero bueno, quería probar a darle un aire diferente y al menos eso sí lo he conseguido. ¡Gracias por visitarme!

Reveal time at Sketchabilities!! the sketch #52 is amazing, but for some reason I wasn´t very inspired (the photos, I guess) and the result...well...it´s not my favorite layout. Anyway, I wanted to give the page a different look and I think I did. Thanks for looking!!


lyv
25072011-IMGP5166
25072011-IMGP5164
25072011-IMGP5160
25072011-IMGP5158I used a basic paper from Basic Grey and corrugated cardboard as a background. I also used lots of scraps. I did lots of techiques: stitching, inking, distressing, embossing...

Como fondo utilicé un básico de Basic Grey y cartón corrugado. Además utilicé muchos restos de papeles. Usé muchas técnicas: cosí, entinté, envejecí, embosé...¡de todo un poco!


jueves, 28 de julio de 2011

Once upon a time mini album (III)

Lento pero va saliendo...¡aqui está la penúltima entrega del mini!

I´m being too slow in updating...but here is the third part of the mini!!
page3
collagepage3

Los papeles son de Graphic45, tanto los de fondo como la imagen del hadita. Las flores son de Petaloo (la grande) y de ZVA (la pequeña). El arabesco es de Zva también. El rubon es de basic grey, y el alfiler lo hice yo.

Papers are from Graphic45. Flowers are from petaloo (the large one) and ZVA (the small one). The pearl swirl is from ZVA too. I used a basic grey rubon and the pin is handmade.
page4
collagepage4

En este caso usé una flor de prima y dos pequeñas rosas de ZVA. Las postales son recortes de los preciosos papeles de esta colección,  le añadí un poco de stickles rock candy para darle brillo.

El arabesco está recortado con la cricut varias veces en cartulina texturizada, pegando todos los recortes para hacer una especie de chipboard. Entinté los bordes y le eché glossy accents.

For this page I used a prima flower and two small roses from ZVA. The postcards are cutouts from this gorgeus collection, I used some stickles rock candy to make them sparkle. 

I used my cricut to cut the swirl. I cut the same shape three times on bazzill cardstock and glued them, so I got a faux chipboard swirl. I inked the edges with walnut stain distress ink and put a coat of glossy accents. 

jueves, 21 de julio de 2011

Once upon a time mini album II

¡Aquí están las primeras páginas del mini! Los papeles son increíbles, ha sido una maravilla trabajar con ellos. El mini está lleno de bolsillos, tags... había que aprovechar esas imágenes tan bonitas :)

Here are the first pages of the mini! The papers are incredible, it´s been wonderful working with them. The mini is full of pockets, tags...I had to make use of those beautiful images!
page1
collagepage1Primera página: aproveché una de las imágenes de la colección para hacer un bolsillo donde guardar un pequeño despeglable, con espacio para tres fotos y journaling. En esta página utilicé los papeles de la colección, dos sellos de My Mind´s Eye embosados con polvos marrones de Stampendous y flores y brillantes de ZVA Creative.

First page: I used one of the gorgeus pictures to make a pocket, with a small mini book inside. This mini book has space for three photos and journaling. In this page I used papers from the Graphic45 collection, two stamps from My Mind´s Eye embossed with brown powder (Stampendous), and flowers and bling from ZVA Creative.
page2
collagepage2Segunda página: tenemos un pequeño librito despeglable, con espacio en la portada para una foto (está abierto por arriba). Además de los papeles de la colección Once upon a springtime usé un sello de inkadinkado embosado con polvos dorados de Artemio y una flor de Prima.

Second page: I made a small mini book with space for many photos and journaling. I used the Once upon a springtime collection papers, a stamp from inkadinkado embossed with gold powder (Artemio) and a Prima flower.


viernes, 15 de julio de 2011

Sketchabilities #51

Hoy es día 15...¡y eso significa que es el Reveal Day en Sketchabilities! He usado uno de mis papeles favoritos. Me empeñé en usar ese y luego combinarlo no fue nada fácil, así que esta lámina ha sido todo un reto para mi.

Today is 15th, and that means...Reveal Day at Sketchabilities!!! I used one of my favorite papers on this layout. I really wanted to use this one, and it was hard to combine...this layout has been a challenge for me!
LNature

10072011-IMGP5085
10072011-IMGP5078
10072011-IMGP5083

Papeles: Basic Grey (Green at heart y Curio) y Graphic45 (Once Upon a Springtime)

Mariposa: Crate Paper (Mia)

Flores: Prima

Perlas: Zva Creative

Rubon: American Crafts

Stickers (corazón y borde): Fancy Pants (Lilac House)

Otros: mist casero, ramas.
Papers: Basic Grey (Green at heart and Curio) and Graphic45 (Once Upon a Springtime)

Butterfly Die Cut: Crate Paper (Mia)

Flowers: Prima

Bling: Zva Creative

Rubon: American Crafts

Stickers (heart and border): Fancy Pants (Lilac House)

Other: Homemade mist. Vine from my stash.

lunes, 11 de julio de 2011

Once upon a time mini album

¡Estaba deseando enseñaros este mini! ¡mi favorito! Como son bastantes páginas con muchos detalles os dejo la portada y un adelanto del interior, iré enseñando todas las que faltan estos días. Me lo he pasado en grande haciéndolo y me gusta cómo ha quedado ¡espero que a vosotras también os guste! Gracias por visitarme y vuestros comentarios

I was looking forward to showing you this mini album! My fave one! It has quite a lot pages with many details, so I´ll post the cover today, and the interior pages the next days. I´ve had lots of fun making this, and I like the result. I hope you like it too!! Thanks for visiting and for your comments


main

detalleportada

11062011-IMGP4785

paginajuntasLos papeles son de Graphic45 (Once upon a springtime).

Flores de prima y perlas de ZVA creative.


Papers from Graphic45 (Once upon a springtime)

Flowers from prima and bling from ZVA Creative.


domingo, 10 de julio de 2011

Tutorial de un layout/ Layout tutorial

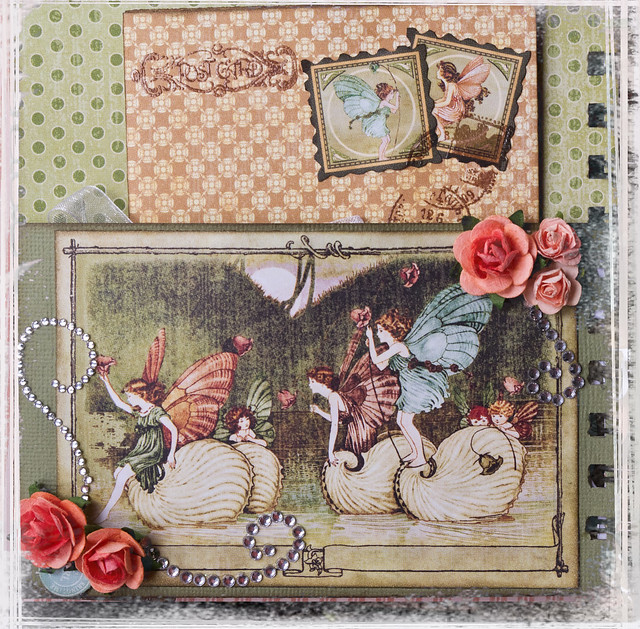
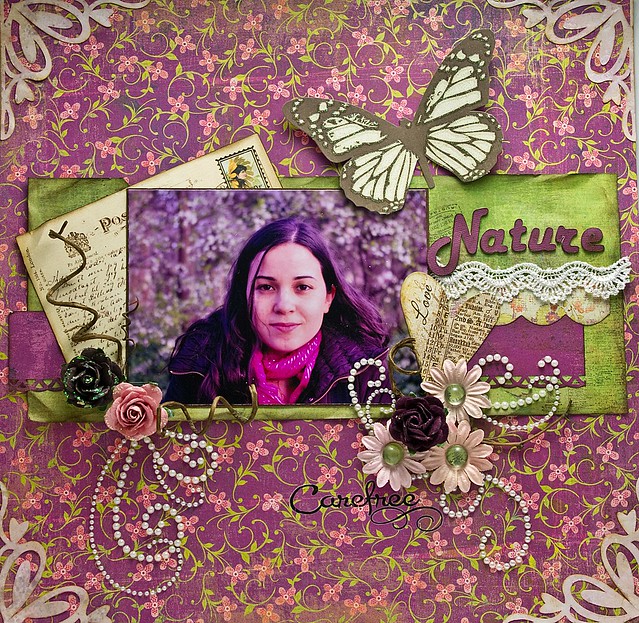
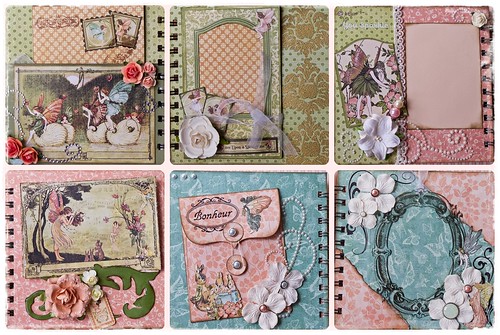
Este es un pequeño tutorial paso a paso sobre cómo hacer la lámina anterior. Es muy sencillito y quería haberlo publicado junto con la lámina, pero no me daba tiempo. ¡Espero que os guste!

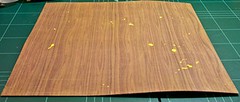
This is a simple step by step tutorial on how to make the layout "play", on the last entry. My intention was to publish it with the layout, but I didn´t have time...so here it is! I hope you like it!

En primer lugar usé pintura acrílica para manchar un poco el papel de base

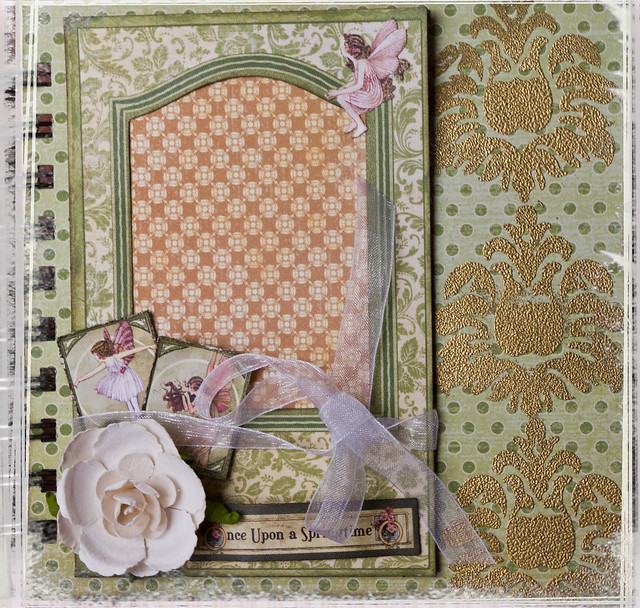
First, I used some acrylic paint to make stains on my background paper

23062011-IMGP4912
23062011-IMGP4910

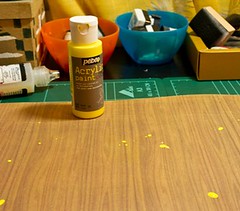
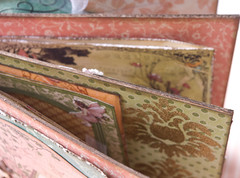
Corté dos trozos de papel coordinado, entinté los bordes y los coloqué sobre el papel base.

Then I cut two pieces of coordinated paper, inked the edges and placed them on the background paper.

23062011-IMGP4917


IMGP4922

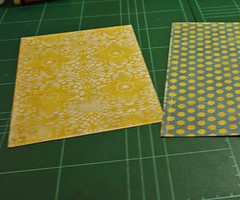
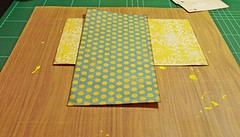
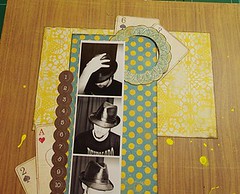
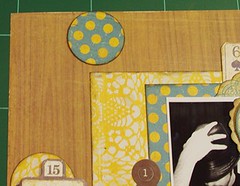
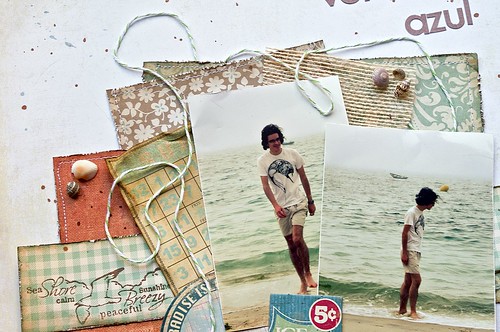
Coloqué las fotos, pero sin pegarlas todavía.

Placed the photos (I didn´t adhere them yet)

IMGP4923
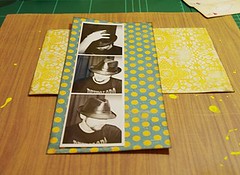
Recorté algunas cartas de uno de los papeles y las coloqué.
I did some fussy cutting with the playing cards paper and placed them on my layout.

IMGP4925
IMGP4927

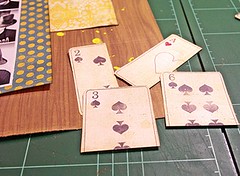
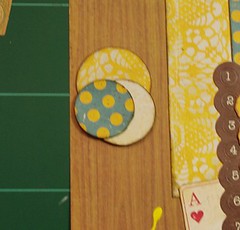
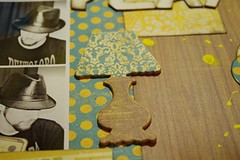
También recorté algunas blondas.

Fussy cutting on the doilies paper too.

IMGP4934

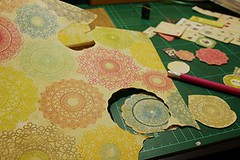
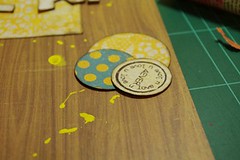
Recorté el centro de la blonda azul.

I cut the center of the blue doilie.

IMGP4933

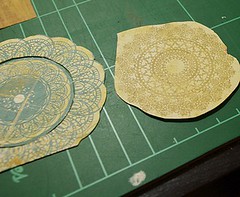
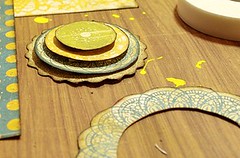
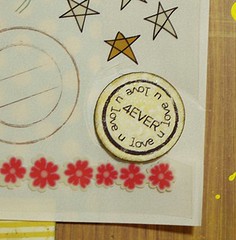
Acabé con todas estas blondas y las superpuse.

Finally, I got these pieces and layered them.
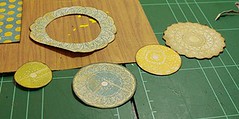
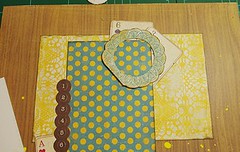
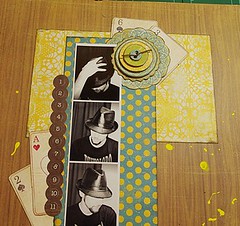
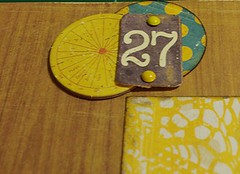

IMGP4935

IMGP4936
IMGP4942
IMGP4944
IMGP4945

IMGP4947

Añadí unos bordes.

Added some borders 
IMGP4956

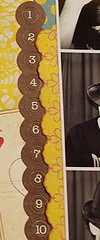
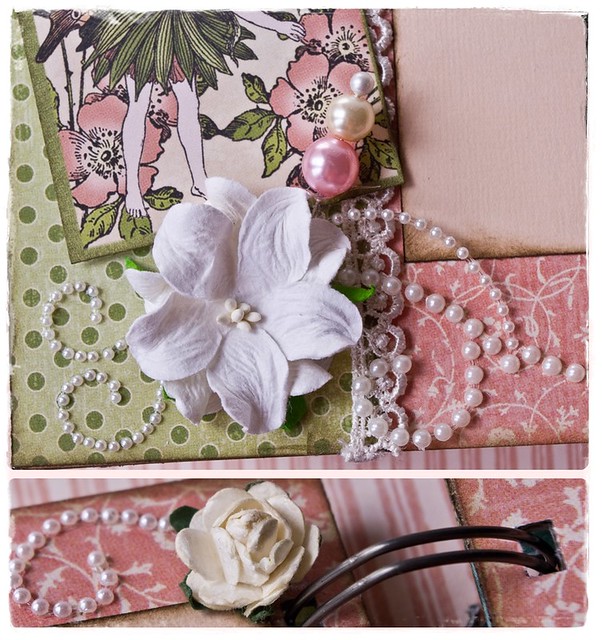
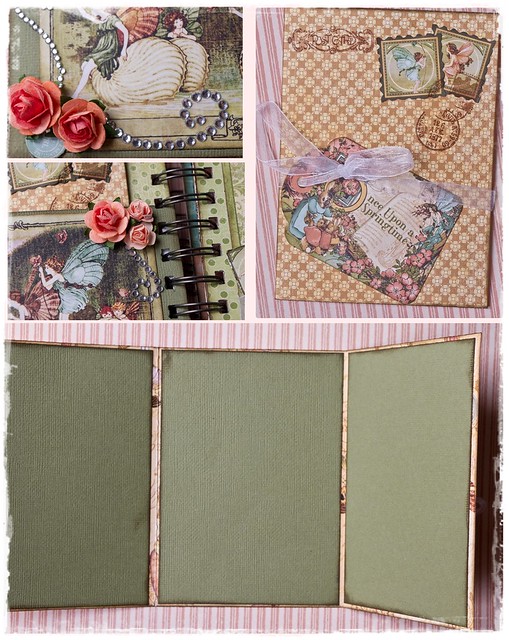
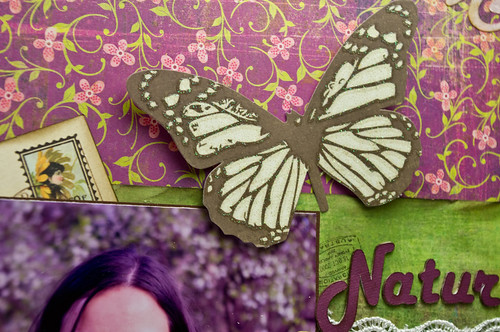
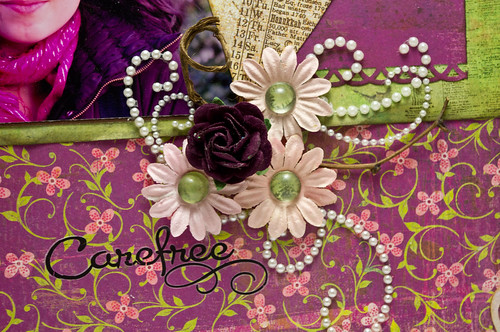
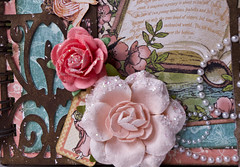
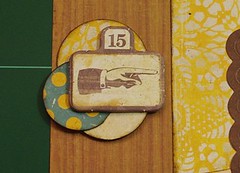
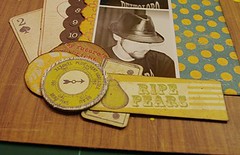
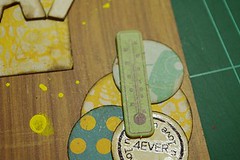
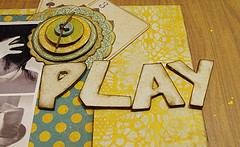
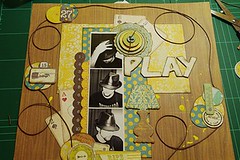
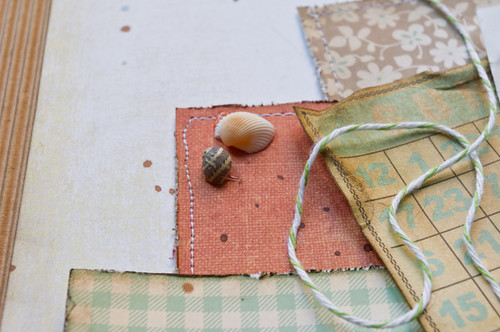
Hice los conjuntos de adornos y círculos.

And then I made the embellishments clusters

IMGP4957
IMGP4958IMGP4959
IMGP4960
IMGP4961
IMGP4969
IMGP4974IMGP4976
IMGP4949
IMGP4979
IMGP4983

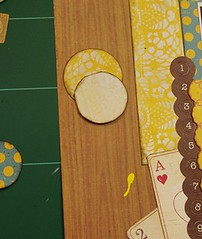
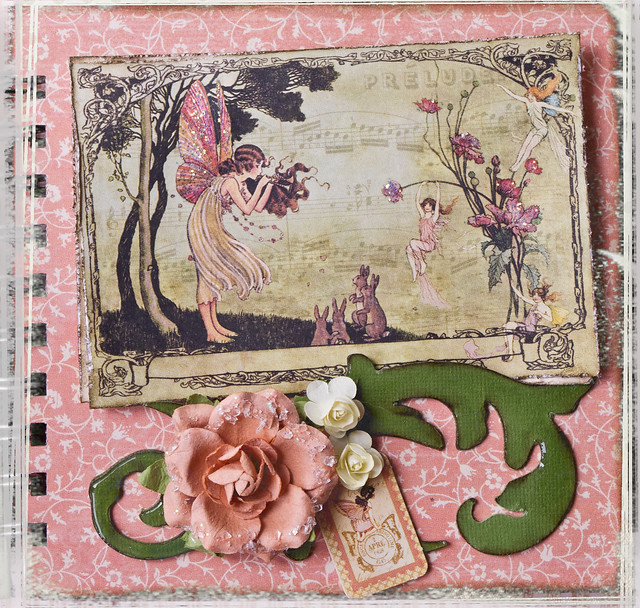
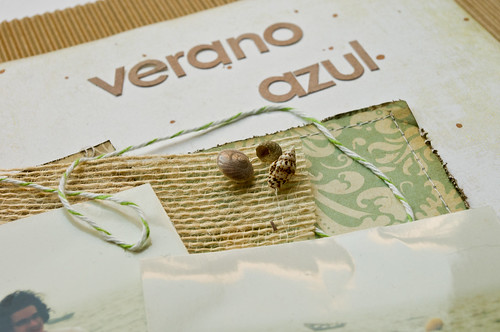
Recorté el título con mi cricut. Corté tres veces cada letra y las pegué. De esta forma parecen letras de chipboard.
I cut the title with my cricut. I cut three times the each letter and glued them together. This way they look like chipboard letters.

IMGP4950

IMGP4951

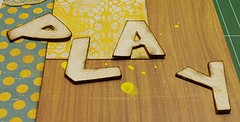
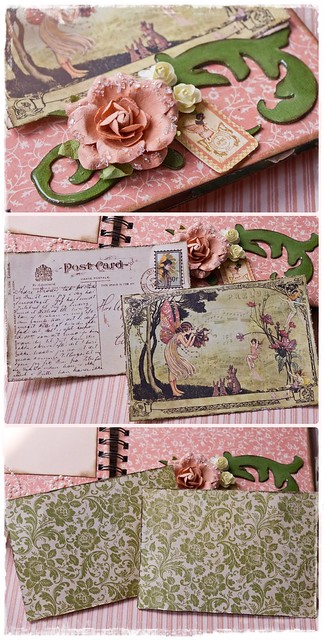
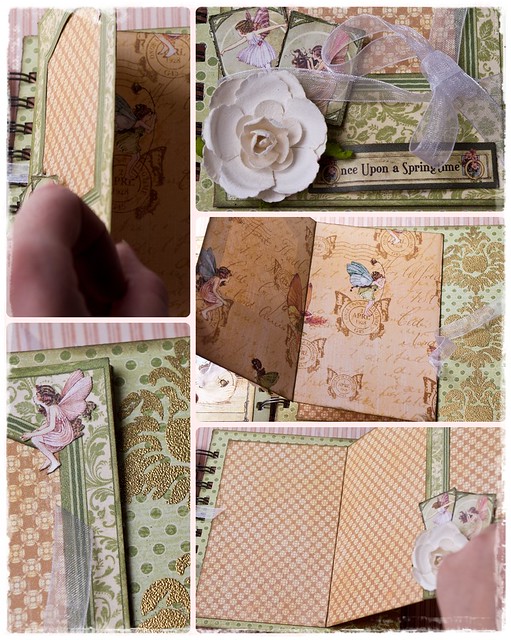
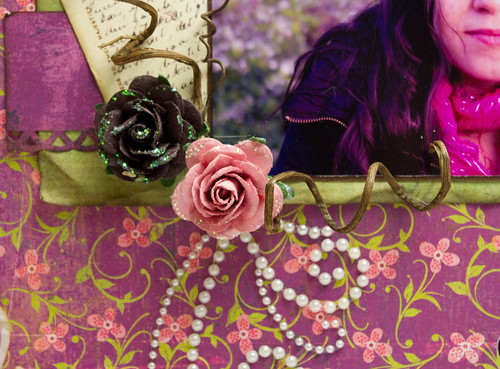
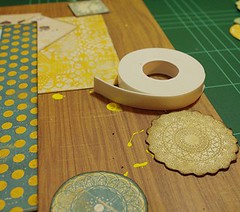
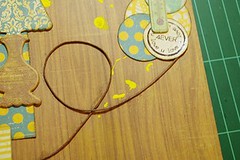
Por último, usé algo de cuerda para rodear el layout. Usé el pegamento Clear Tacky Glue de Aleene porque se seca y es completamente transparente, no mancha nada.

Finally, I used some twine around the layout. I used Clear Tacky Glue from Aleene because it dries completely clear
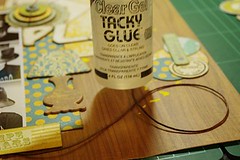
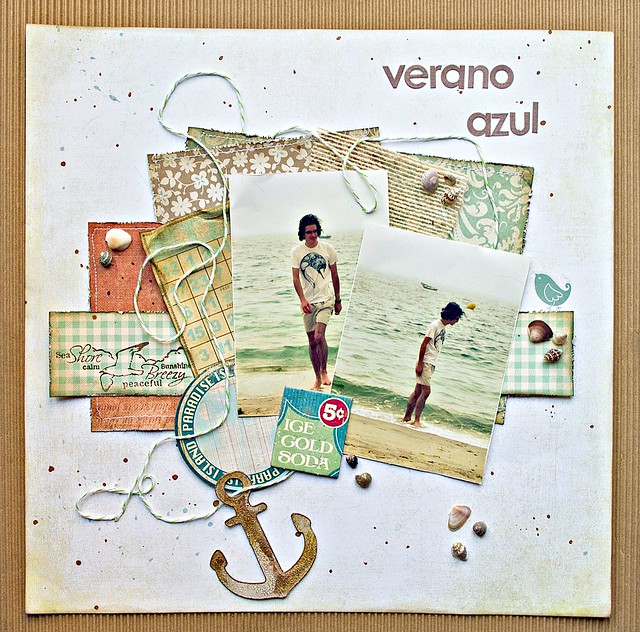
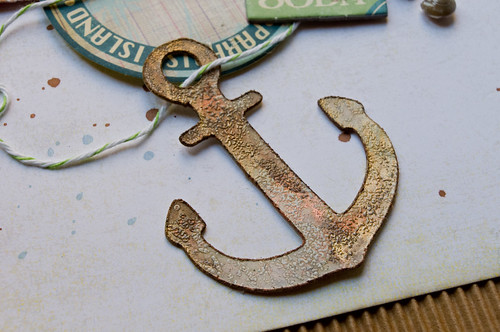
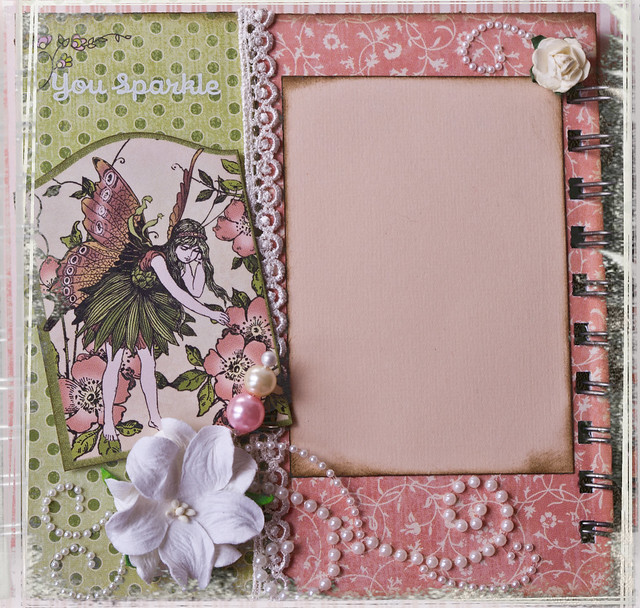
IMGP4984
IMGP4988
IMGP4989