jueves, 23 de febrero de 2012

Layout Valiente

Hoy voy a hacer la presentación del perrito que han adoptado mis padres: Valiente! es una monada, juguetón y adorable :). Cuando estuve alli en verano le hice montones de fotos ¡encima posa! y por fin le he hecho su primera página. He usado el sketch 65 de Sketchabilities que era perfecto para mis fotos!

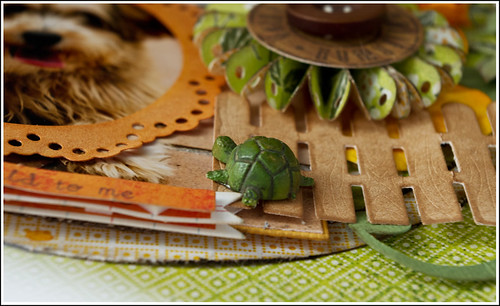
Today I'm gonna show you the puppy my parent's have adopted: Valiente! (I guess you could translate it as valiant/brave)He's such a cutie, so playful and adorable :) When I visited them this summer I took a huge amount of photos of him, he even poses! and I finally made his first layout. I've used sketch 65 from Sketchabilities, it was perfect for my photos!

Los papeles son de Basic Grey (Picadilly) y son una verdadera preciosidad. Los circulos y los bordes están cortados con la Came, igual que las flores.El circulo que hace de marco para la foto de la izquierda está hecho con la big shot y un troquel de Nellie Snellen.


Paper are from Basic Grey (Picadilly) and they're really beautiful. The circles and the border were cut with my Cameo, same as flowers. The scalloped circle acting as a frame was cut with my big shot and a Nellie Snellen die.


El botón es un regalo de Almu (gracias guapísima!) y el círculo de debajo es una pegatina de Crate Paper (Emma's shoppe). Las hojas están cortadas con la cameo y envejecidas con agua.


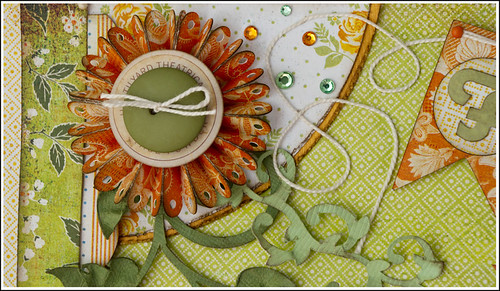
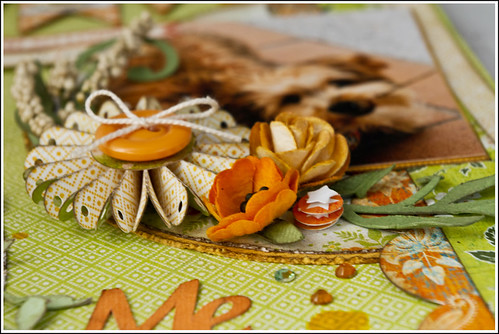
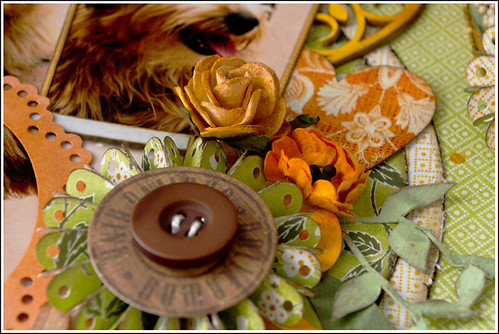
The button was a gift from Almu and the circle is a sticker from Crate Paper (Emma's shoppe). The leaves were cut with my Cameo and distressed with water.


Para hacer el corazón usé la técnica del falso chipboard y la Cameo, y después le eché Smooch Spritz. Las flores son de Wild Orchid Crafts.


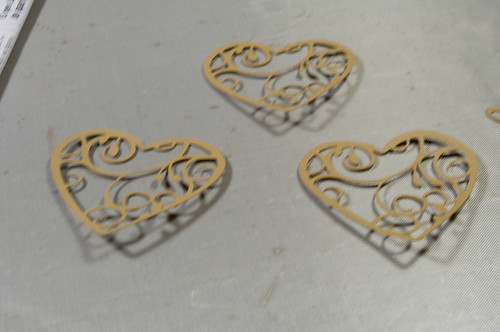
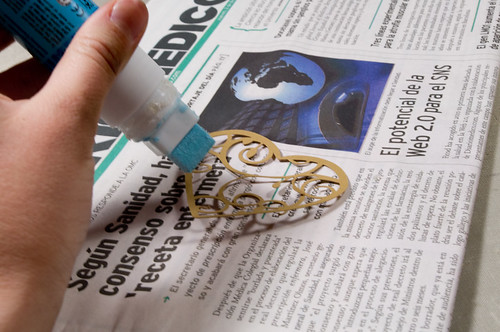
I used the faux chipboard technique and my Silhouette Cameo to make the heart, then I sprayed it with Smooch Spritz. Flowers are from Wild Orchid Crafts.


Los banderines están recortados con la Cameo, y las letras son de un alfabeto de Crate Paper. Las pegatinas "oh so lovely" y "date" son de MME.


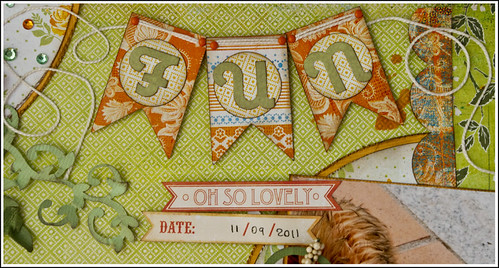
I used my Cameo to cut the banner, and the letters are from a Crate Paper alphabet. The "oh so lovely " and "date"stickers are from MME.


Falso chipboard/Faux chipboard

Los adornos de chipboard son preciosos, pero también son bastante caros y no siempre encontramos el que necesitamos. Para esto es muy útil este pequeño truco del falso chipboard, podemos hacer los adornos que queramos con aspecto de chipboard y es de lo más sencillo

Chipboard embellies are very beautiful, but they're expensive too and sometimes you can't find the one you need. A simple and useful solution is the faux chipboard: you'll be able to make the embellies you want and they'll look like chipboard. Besides, it's very easy to make!

Lo único que necesitamos es tener la forma que queramos repetida unas cuantas veces (yo suelo utilizar 5 capas). Utilizo cartulina kraft para que los bordes no se vean blancos, es más cómodo que entintarlos luego.

You just have to cut the shape you want a few times (I use 5 layers). I use kraft cardstock to avoid white edges, it's easier than inking them.

Después pegamos todas las capas. Uso el pegamento grande de ZIG por comodidad (con pasarlo un par de veces ya cubro toda la superficie) pero cualquier pegamento servirá.

Glue all the layers together. I use the ZIG jumbo because it's faster but you can use any glue.

Luego ya solo queda alterarlo como querais. Podeis usar gesso, pintura, tinta...lo que querais. A partir de ahora ya sirve cualquier técnica para alterar chipboard de las que hay en la web. Al haber usado cartulina kraft hay que tener en cuenta que el fondo no es blanco. Cuando quiero asegurarme que el color que use (tinta, dabber, glimmer) se va a mantener tal cual es lo que hago es cortar una capa más en cartulina blanca y pegarla sobre las anteriores. En este caso si habrá que entintar un poco los bordes pero apenas se va a notar que uno de ellos es blanco.

Now you can alter it was you'd do with any chipboard. Since I used kraft cardstock, I don't have a white background. If I want it white I apply a coat of gesso or, what I mostly do, cut another layer in white cardstock and glue to the other ones. I'll have to slightly ink the edges but once I do it the white edge won't be noticed.

Aqui teneis un ejemplo donde he usado una capa de cartulina blanca.

Here you can see an example where I used a white layer.

miércoles, 15 de febrero de 2012

Una magic box y una noticia/ a magic box and some news


El mes pasado fue el cumpleaños de Darey y decidí regalarle una magic box, inspirándome en esta preciosidad de Paula

Darey's birdthday was last month and I decided to make her a magic box, the inspiration came from this stunning project made Paula


Así que hice un scraplift de su cajita y aquí teneis mi versión. Por cierto, el crédito de las fotos es de Ada, que las hizo y me las editó mucho mejor de lo que podría haberlo hecho yo ¡Gracias Ada!

So, I scraplifted her and this is my creation. The photos were taken and edited by Ada, and she did it much better than I can. Thanks Ada!!


Esta caja entra en los retos:


I'm entering this box to the following challenges:


#61 de Crafty Card Makers: monochrome magic


Stamptacular Sunday Challenge: pearls and lace


Pysseldags: monochromatic


Los papeles son de KaiserCraft (Lilac Avenue). La mesa, las vallas, las enredaderas, la silla...todo está cortado con la silhouette cameo. Las mariposas las imprimí y las recorté, y la flor de la tapa está hecha según este tutorial


Papers are from KaiserCraft (Lilac Avenue). The table, the fences, the vines, the chair...all these things were cut with the silhouette cameo.  The butterflies were printed and then I cut them, and the flower on the top was made following this tutorial


Y las noticias son que...gané el reto de enero de Berry71Bleu!!! con la caja alterada que puse hace un par de semanas, estoy contentísima! Muchas gracias a todas las chicas del DT!!!


And the news are...I won the January Challenge from Berry71Bleu!!!!!! I entered the altered box I posted a few weeks ago, and I'm so happy! I want to give a huge THANKS to all the DT girls!